The graphic style can be stored in the Graphic Styles panel library and later applied to other shape paths or even type. To add the style to the panel while the path is selected, click the new graphic style icon. Refer to Figure 8-195.
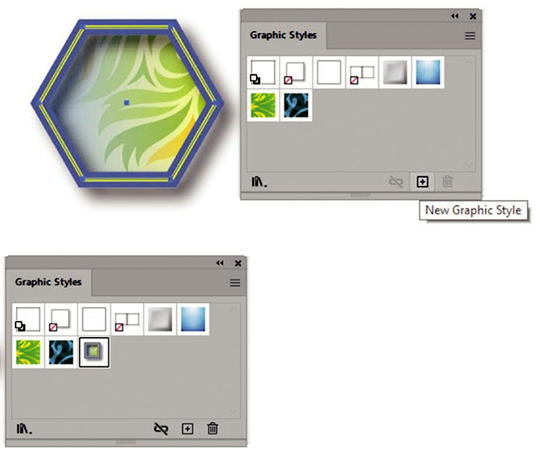
Figure 8-195. Add an appearance to the Graphic Styles panel
The graphic style is added, and now you can select another created path or text with your Selection tool and apply that style to it when you click the style again. For some text, the font will have to be very bold in order to apply a style. Refer to Figure 8-196.

Figure 8-196. Apply a graphic style to paths and text
With type, keep in mind readability. This may be OK for a larger logo, but not the text within the infographic if there are a lot of smaller fonts. While you can apply a pattern to type as you would a solid swatch, you cannot apply a gradient to type without using a graphic style. Refer to Figure 8-196.
When you need to set the graphic styles back to default for the next selected item or object you plan to draw next, click first style in the upper left corner of the panel. Refer to Figure 8-197.
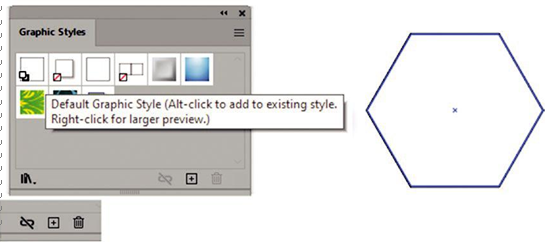
Figure 8-197. Use the default setting in the Graphic Styles panel to clear, add, and reset the default graphic style
As in other panels, you can use the library icon to access more graphic styles and use the trash can icon to delete a style. The link icon is used to break the path’s appearance link with the library if you plan to create a new style later on. Refer to Figure 8-197
Refer to Graphic_Styles.ai file for reference.