You’ll add an effect to the type layer, but this time, you’ll animate its settings using keyframes.
- Go to the beginning of the time ruler by doing one of the following:
• Drag the current-time indicator to the left in the time ruler so that it’s positioned at 0:00.
• Click the Current Time field in the Timeline panel or Composition panel, and type 00. If you clicked in the Current Time field in the Composition panel, click OK to close the Go To Time dialog box.
- Type channel blur in the search box in the Effects & Presets panel.
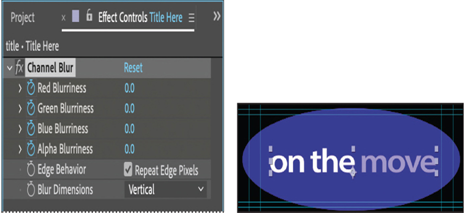
- Drag the Channel Blur effect onto the Title Here layer in the Timeline panel.
After Effects adds the Channel Blur effect to the layer and displays its settings in the Effect Controls panel. The Channel Blur effect individually blurs the red, green, blue, and alpha channels in a layer. It will create an interesting look for the title. - In the Effect Controls panel, set the Red Blurriness, Green Blurriness, Blue Blurriness, and Alpha Blurriness values to 50.
- Click the stopwatch icon ( ) next to each of the settings you changed to create initial keyframes. The text will be blurred as it first appears.
Keyframes are used to create and control animation, effects, audio properties, and many other kinds of changes that occur over time. A keyframe marks the point in time where you specify a value, such as spatial position, opacity, or audio volume. Values between keyframes are interpolated. When you use keyframes to create a change over time, you must use at least two keyframes—one for the state at the beginning of the change, and one for the state at the end of the change. - From the Blur Dimensions menu, choose Vertical.

- Go to 1:00 in the timeline.
- Change the values to the following:
• Red Blurriness: 0
• Green Blurriness: 0
• Blue Blurriness: 0
• Alpha Blurriness: 0
9. Manually preview the effect by moving the current-time indicator from 0 to 1:00.

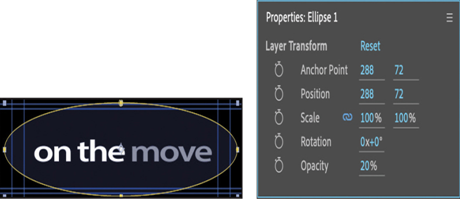
Changing the opacity of the background
The title looks good, but the ellipse is too bright. You’ll change its opacity so that the water in the video shows through.
Tip
You can change Opacity values in the Properties panel or the Timeline panel. In the Timeline panel, the keyboard shortcut for the Opacity property is T: think of it as transparency.
- In the Timeline panel, select the Ellipse 1 layer.
- In the Properties panel, change the Opacity value to 20%.
Tip
To see how the title appears over the water, click the movement tab in the Timeline panel.